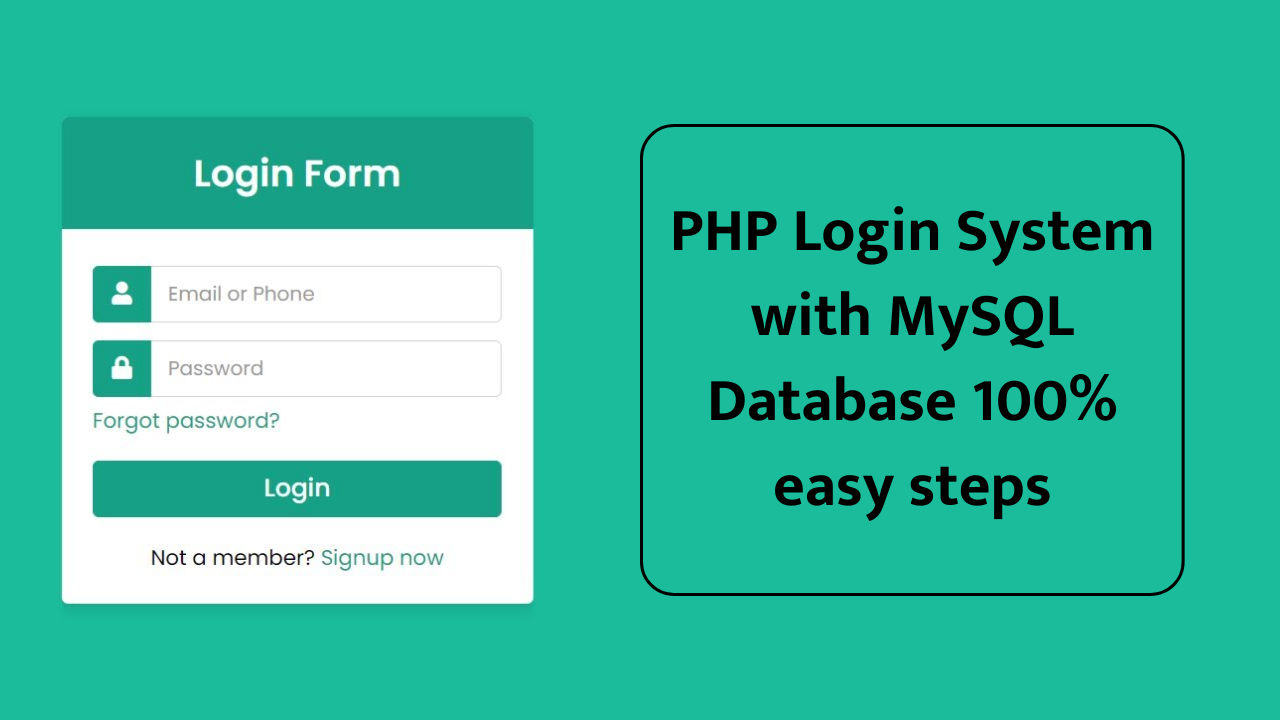
PHP Login System with MySQL Database
In this article, we will explore how to create a robust PHP login system using a MySQL database. A secure login system is essential for web applications that require user authentication. By following this guide, you will learn how to set up a fully functional login system from scratch.
Why Use PHP and MySQL for Login Systems?
PHP and MySQL are widely used for developing dynamic and secure web applications. They are easy to learn, highly efficient, and work seamlessly together. Here are some advantages of using PHP and MySQL:
- Scalability: Suitable for projects ranging from small websites to large-scale applications.
- Security: Provides options for password hashing and SQL injection prevention.
- Community Support: A large developer community ensures plenty of resources and solutions.
Prerequisites
Before starting, make sure you have the following:
- A local server setup like XAMPP or WAMP.
- Basic knowledge of PHP, MySQL, and HTML.
- A text editor (e.g., Visual Studio Code or Sublime Text).
Step 1: Setting Up the MySQL Database
To create the database and table:
- Open phpMyAdmin and create a new database named
user_db. - Create a table named
userswith the following structure:
CREATE TABLE users (
    id INT(11) AUTO_INCREMENT PRIMARY KEY,
    username VARCHAR(50) NOT NULL,
    email VARCHAR(100) NOT NULL,
    password VARCHAR(255) NOT NULL
);
Step 2: Connecting PHP to the MySQL Database
Create a file named config.php to establish a connection to the database:
<?php

$servername = "localhost";
$username = "root";
$password = "";
$dbname = "user_db";

// Create connection
$conn = new mysqli($servername, $username, $password, $dbname);

// Check connection
if ($conn->connect_error) {
    die("Connection failed: " . $conn->connect_error);
}
?>
Step 3: Creating the Registration Form
Create an index.html file with a simple HTML form for user registration:
<!DOCTYPE html>
<html lang="en">
<head>
    <meta charset="UTF-8">
    <meta name="viewport" content="width=device-width, initial-scale=1.0">
    <title>Register</title>
</head>
<body>
    <form action="register.php" method="POST">
        <h2>Register</h2>
        <label for="username">Username:</label>
        <input type="text" name="username" required><br>

        <label for="email">Email:</label>
        <input type="email" name="email" required><br>

        <label for="password">Password:</label>
        <input type="password" name="password" required><br>

        <button type="submit">Register</button>
    </form>
</body>
</html>
Step 4: Handling User Registration with PHP
Create a register.php file to handle form submissions and store user data in the database:
<?php
include 'config.php';

if ($_SERVER["REQUEST_METHOD"] == "POST") {
    $username = $_POST['username'];
    $email = $_POST['email'];
    $password = password_hash($_POST['password'], PASSWORD_BCRYPT);

    $sql = "INSERT INTO users (username, email, password) VALUES (?, ?, ?)";
    $stmt = $conn->prepare($sql);
    $stmt->bind_param("sss", $username, $email, $password);

    if ($stmt->execute()) {
        echo "Registration successful!";
    } else {
        echo "Error: " . $conn->error;
    }

    $stmt->close();
    $conn->close();
}
?>
Step 5: Creating the Login Form
Create another HTML file named login.html for user login:
<!DOCTYPE html>
<html lang="en">
<head>
    <meta charset="UTF-8">
    <meta name="viewport" content="width=device-width, initial-scale=1.0">
    <title>Login</title>
</head>
<body>
    <form action="login.php" method="POST">
        <h2>Login</h2>
        <label for="username">Username:</label>
        <input type="text" name="username" required><br>

        <label for="password">Password:</label>
        <input type="password" name="password" required><br>

        <button type="submit">Login</button>
    </form>
</body>
</html>
Step 6: Validating User Login
Create a login.php file to handle the login process:
<?php
include 'config.php';

if ($_SERVER["REQUEST_METHOD"] == "POST") {
    $username = $_POST['username'];
    $password = $_POST['password'];

    $sql = "SELECT * FROM users WHERE username = ?";
    $stmt = $conn->prepare($sql);
    $stmt->bind_param("s", $username);
    $stmt->execute();
    $result = $stmt->get_result();

    if ($result->num_rows > 0) {
        $user = $result->fetch_assoc();

        if (password_verify($password, $user['password'])) {
            echo "Login successful!";
        } else {
            echo "Invalid password.";
        }
    } else {
        echo "No user found with this username.";
    }

    $stmt->close();
    $conn->close();
}
?>
Step 7: Adding Logout Functionality
Create a logout.php file to destroy the session:
<?php
session_start();
session_unset();
session_destroy();

header("Location: login.html");
exit;
?>
Step 8: Securing the System
- Password Hashing: Use
password_hash()to store passwords securely. - Prepared Statements: Prevent SQL injection by using prepared statements.
- Session Management: Secure session cookies with
session_start()andsession_regenerate_id(). - Validation: Sanitize user inputs using
filter_input()or custom validation functions.
Conclusion
By following the steps above, you can create a secure and efficient PHP login system with a MySQL database. This tutorial covers the fundamentals of user registration, login, and session management. For added security, consider implementing HTTPS, CAPTCHA, and multi-factor authentication (MFA).
With the increasing need for user authentication, mastering login systems will enhance your skills as a web developer. Start building your PHP login system today and explore the possibilities of secure web development!
ALSO READ : How to Build an eCommerce Website in PHP: A Step-by-Step Guide 100%


![Top Python Interview Topics: A Beginner’s Guide for Students [Latest 2025]](https://developer.thrend.in/wp-content/uploads/2025/11/ChatGPT-Image-Nov-18-2025-02_21_01-PM.png)